
Recording expenses and receipts
The Expenses menu holds all money going out, with category and payment method.
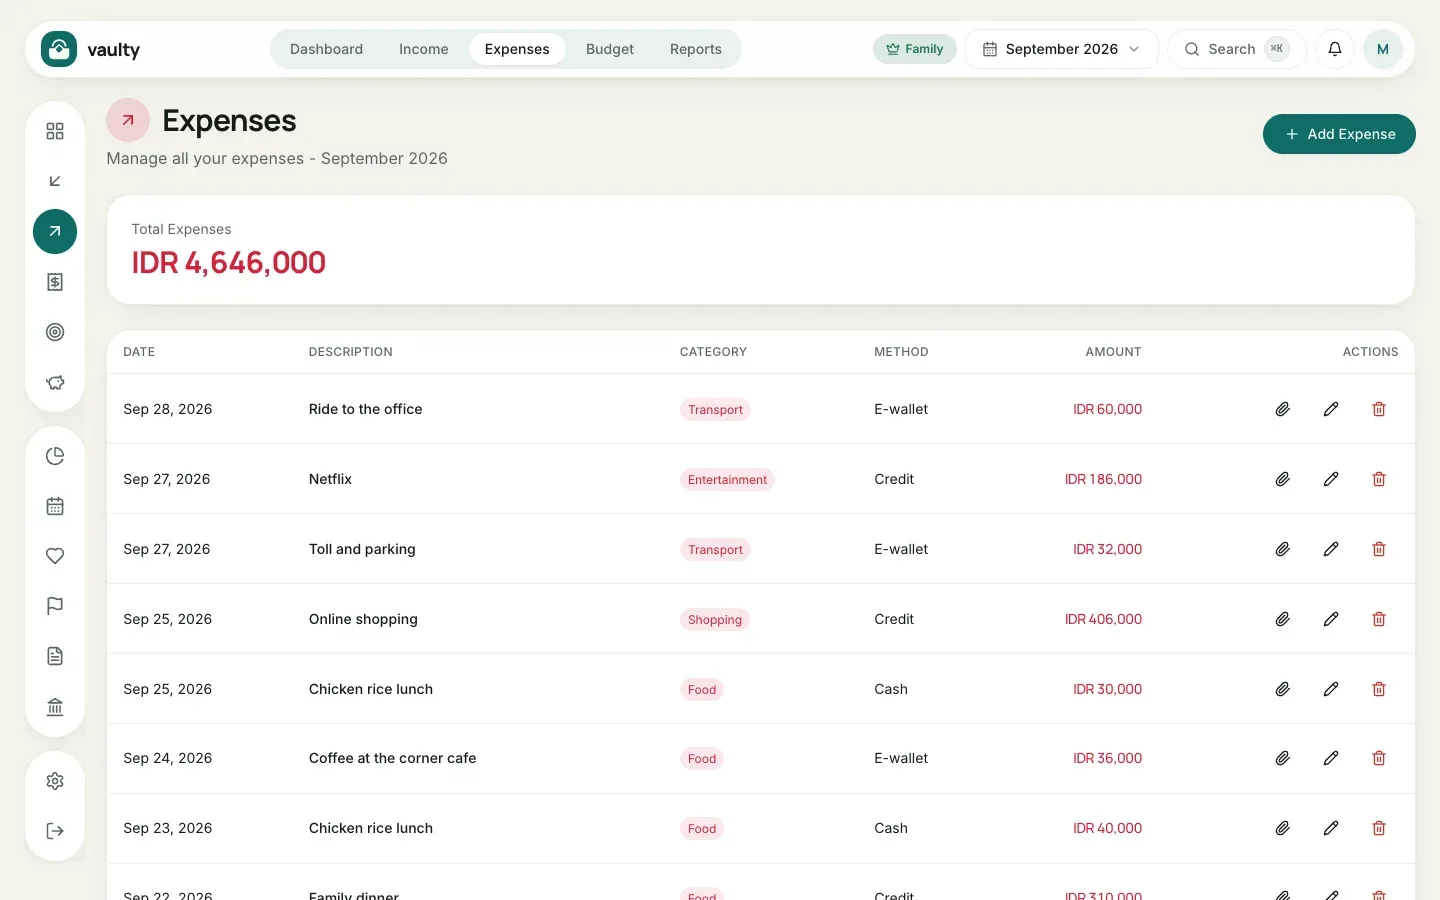
Adding an expense
Section titled “Adding an expense”- Open Expenses.
- Click Add Expense.
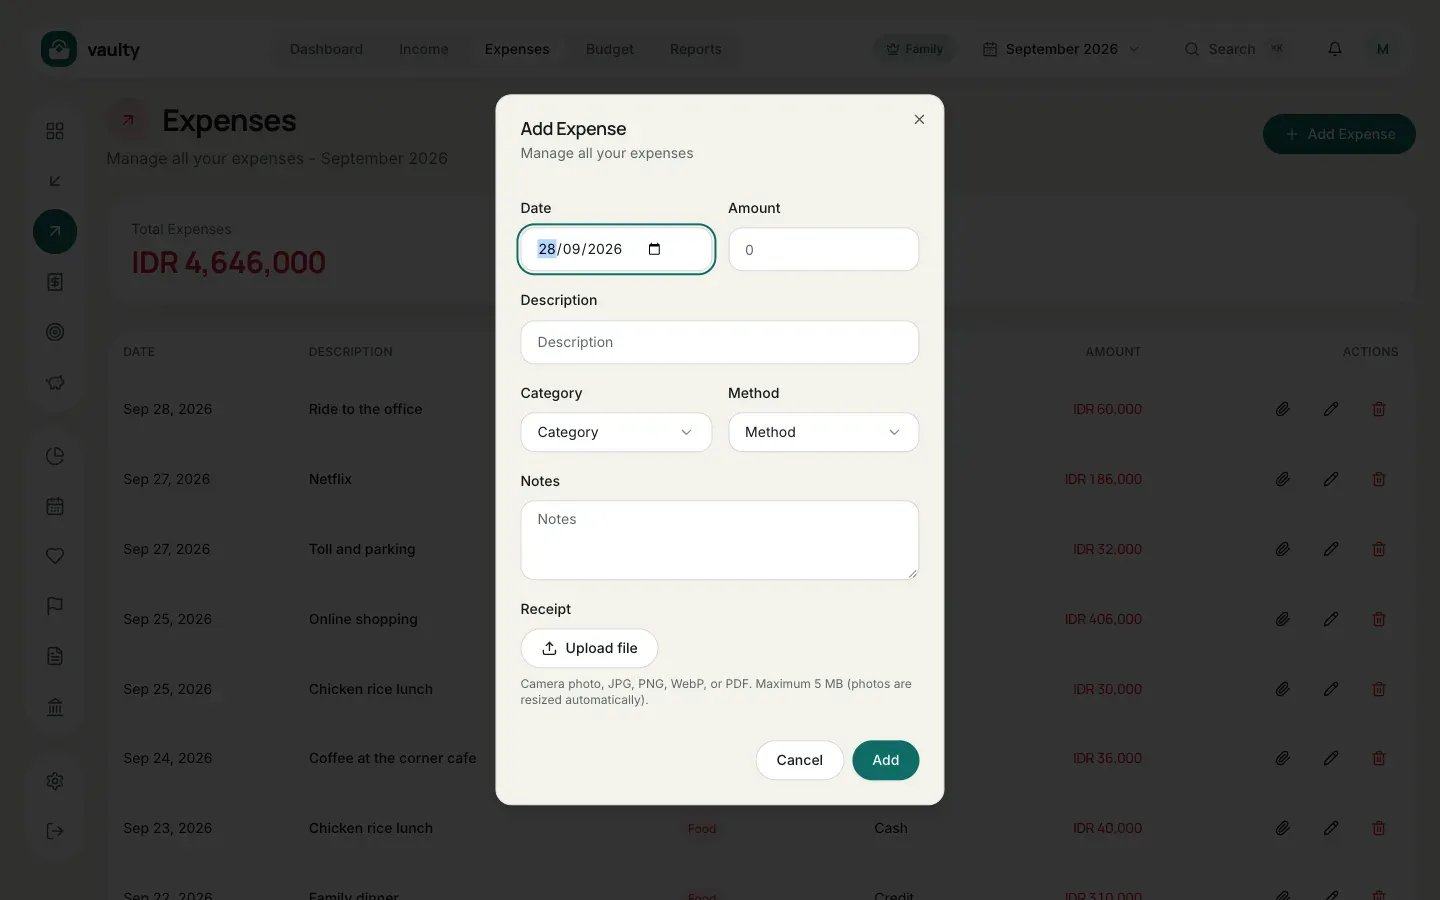
- Fill in Date, Amount, Description, Category, and Method. Notes can stay empty.
- (Optional, Personal plan and above) In the Proof section, click Upload file to attach a receipt.
- Click Add.
Attaching a receipt to an existing expense
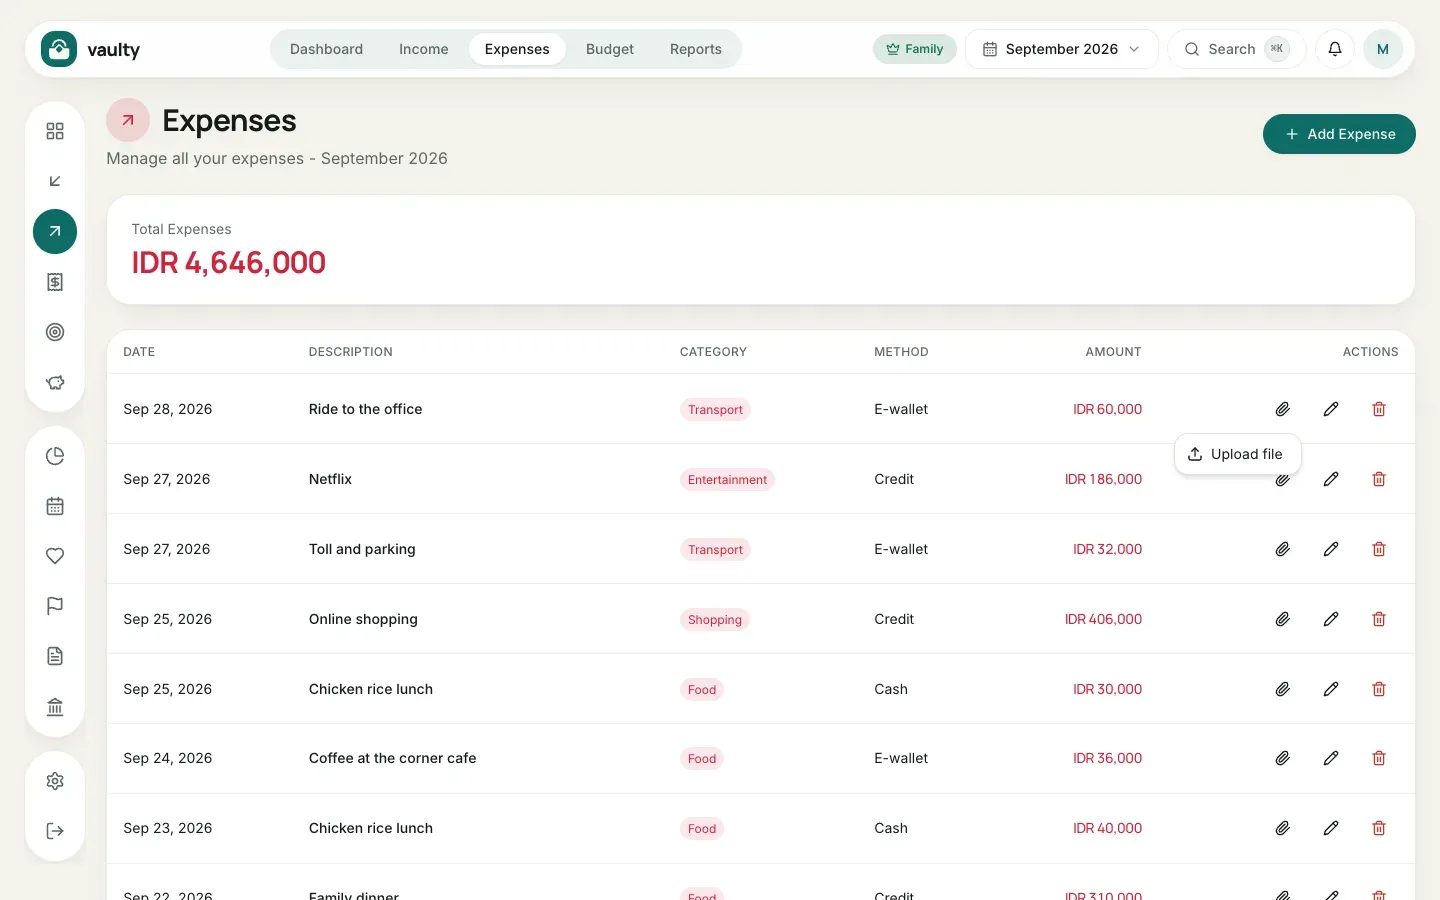
Section titled “Attaching a receipt to an existing expense”Click the paperclip icon in the Actions column of the row, then choose:
- Take photo with the rear camera (shown on phones and tablets), or
- Upload file for JPG, PNG, WebP, or PDF.
Photos from the camera are shrunk automatically in the browser so they fit the 5 MB limit.
- Use consistent descriptions (“Fuel”, not sometimes “filled up the tank”), so items are easy to search and group.
- If you often record the same thing, create a Category Rule in Planning so the category fills in by itself.